This blog was supposed to come out on 3.15.15 but I put it out a couple hours before because I have to work very early and I didn't wanna disappoint, so enjoy this a bit early!!
Anyway!
Today I'm going to show you guys a similar look to my rainy day one.
I decided to show yall almost the same look because whenever I did my rainy day look I didn't get to take step by step individual pictures of the products and this time I did.
Also, I have a quick video on Instagram of myself putting the makeup look together. The Instagram look does not include lipstick or gloss.
**Some pictures are sideways. I apologize. I have no idea why they're like that.
So lets get started! The first thing I want to show you guys is a before of myself. Beware.

Yep, there I am!
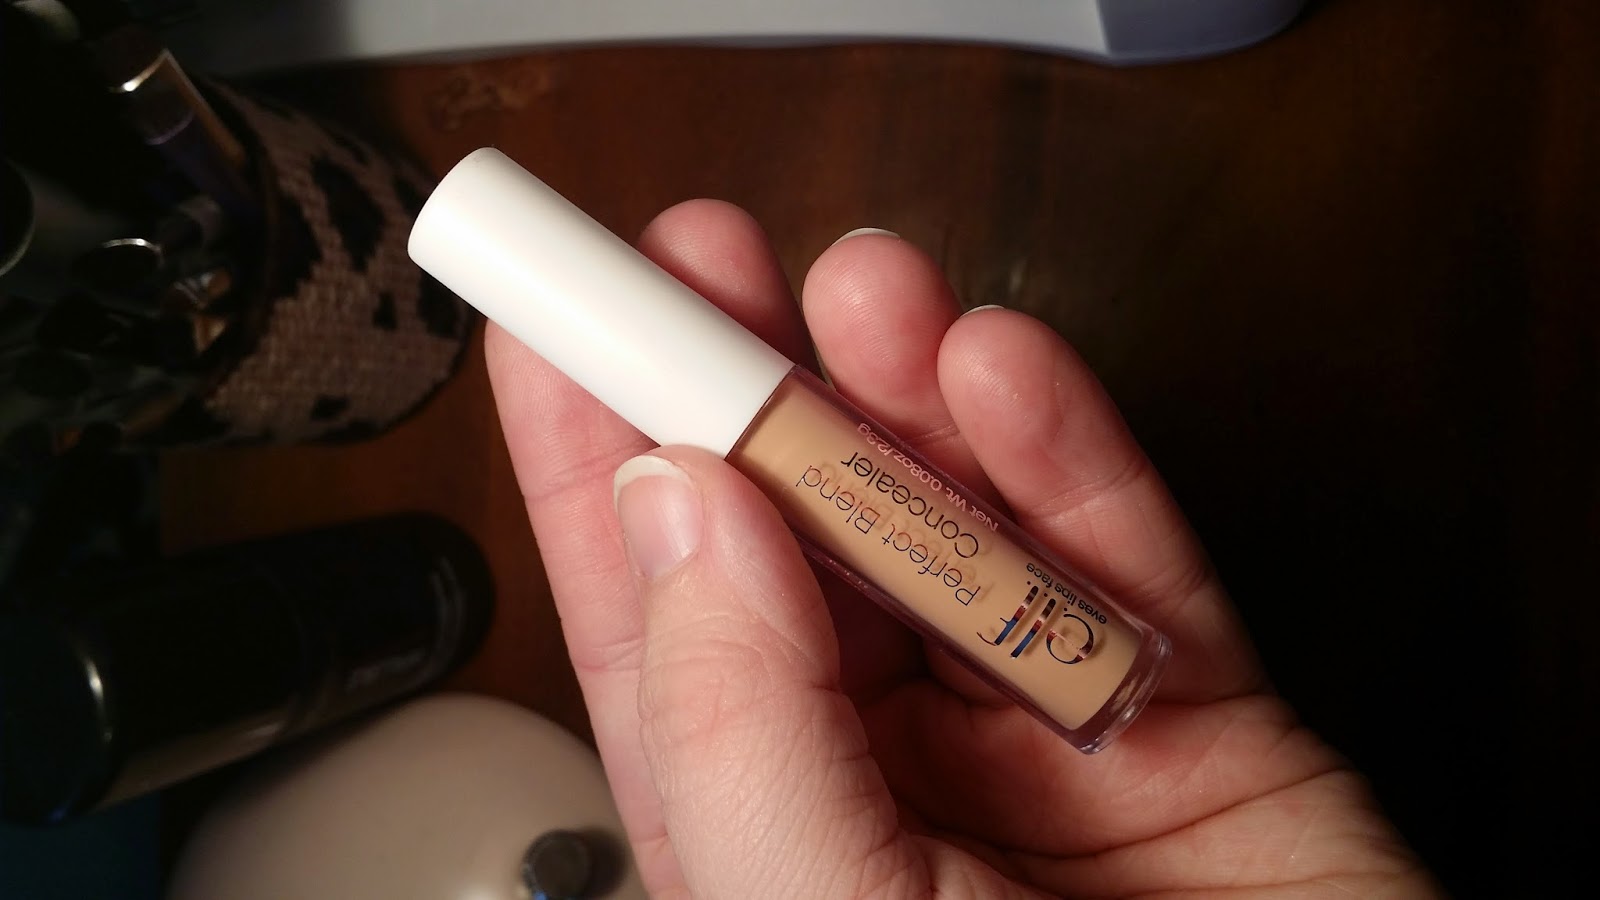
Moving on. The first step I usually do is conceal all my blemishes. I used the ELF Concealer. It was my first time using this brand and I must say, you cannot beat the price. It takes a little more than the high end concealer I usually use, but for the price, I don't care to use a little more. The package is also very cool as well. Here it is:
After that, I like to use a BB or CC Cream because I feel like it is really light weight and evens out my skin tone. Another thing you can use instead of this would be primer. Anyway, I use the CoverGirl BB Cream in the shade 810 light to medium. I love this stuff, I use it almost everyday.

The next thing I use is my foundation. I really like using this powder over the BB Cream because I think it holds it in place better. This actually matches my skin tone really well too. This is a definite MUST HAVE for me. This is Estee Lauder Double Wear Stay In Place Powder makeup 2C3 Fresco. I feel like this stuff is so easy to wear. I don't cake it on my face, I put just a bit on and it lasts me all day.


After blush comes BRONZER! And this stuff is my favvvvv part. Lancome Star Bronzer 04 Glimmer makes my skin GLOW. The best bronzer I've ever used hands down. I put this directly below my blush, on the very top of my forehead, and my neck. Such a pretty color:

That is all for the face. Now we move on to the eyes!
The first thing I do for my eyes is prime them. Today I used Hard Candy Eye Primer that's only about $6. I've never used it until today, and I love it. My eyeshadow has held on all day and it doesn't look like it's been long since I've applied it! One thing about their products is that they are not tested on animals and I think that's really cool of them.

After that, I start my eyeshadow. I used four shades today. I used three Lancome Single Eyeshadows (Vintage Matte, Mannequin Shimmer, and Kitten Heel Shimmer) and I used a elf eyeshadow (elegant).
In my crease, I used Lancome Mannequin Shimmer
On my lid, I used Lancome Kitten Heel Shimmer
As a highlight, I used elf elegant
I used Lancome Vintage Matte over the eyeliner to make it brown, and pretty.
I LOVE the way elegant looks.


After that, I did my eyeliner. I don't like a real thick eyeliner line, so I do my small. I used Almay intense i-color black.

So after that, I used a mascara primer (white) and a mascara (black). These are both Lancome products. These were amazing and it was the very first time using them both. I usually have to hunt and hunt for a mascara, but this one shocked me and actually made my eyelashes the way I wanted them. Thank you Lancome for understanding my needs!

I applied my setting spray next because I HATE getting it in my lipstick, I think that's gross. So for my setting spray, I recently started using the Loreal Infallible Pro-Spray & Set MAkeup Extender Setting Spray. All you do is hold it out at about half arms length and spray in a X and T formation. So make sure to squirt it 4 times. Yes, at first your hold face is wet and it feels disgusting, but after it dries, your makeup is SET for the rest of the day.

After that, I took an after picture and FORGOT to take a after picture with lipstick, I am so sorry!! So here is the completed look (minus lipstick).


I used two seperate lightings. The left is with a bright lamp and the right is at my window with sunlight shining through.
I just want to go ahead and tell you guys that with this look, I would have used a Clinique lipstick in Glazed Berry. For today's look, I wanted a bright but subtle lipstick, so I decided that this was the PERFECT one. I absolutely love it.

I hope you guys enjoyed this look! And this was a similar look to the rainy day look from a couple days ago; However, the rainy day lipstick was darker. Also, the eyelid shade was a bit darker too.
Here is a before and after side by side (before, after):


Thanks for reading, and let me know what you think!
No comments:
Post a Comment